
Tips to get ready for Procreate Dreams
Procreate recently unveiled its upcoming animation software, Procreate Dreams, set to launch on November 22nd. Given Procreate's widespread popularity in the realm of digital drawing, there's considerable anticipation surrounding the features this new app will bring.
While I haven't delved much into animation in the past, I've played around with loops and animated gifs in Photoshop before transitioning to Procreate. The announcement of Procreate Dreams has sparked my interest, and I'm eager to explore animation using this new tool. Currently, I'm scouring the internet for reviews, previews, and helpful hints and tips through various videos. I've gathered a few of my findings here, and I'm also excited to share my preparations as we await the official release.
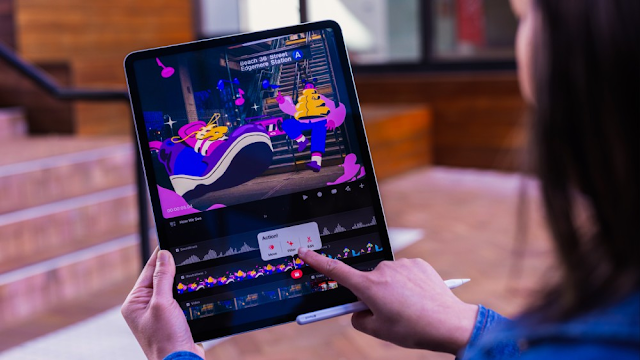 |
| Picture from the Procreate website |
What I'm doing to get ready for Procreate Dreams.
- Storyboarding. (for longer animation projects)
- I am familiarizing myself with the concept of storyboarding for animation. This is a crucial step in my process of preparing for animation. I think of it as a roadmap for the basics of what I want to happen. There is no one correct way to do this; it really depends on the artist and the project I am working on. I've explored a ton of tutorials, blogs, YouTube videos, and templates. I am trying out a few methods to see what makes sense to me.
- Understand what Keyframing/tweaning.
- The next step from storyboards is the concept of keyframing or Tweening. This is the automatic process in animation software. Instead of drawing each in-between frame for my animation, I can automatically 'tween' between two states. For instance, if I have a ball flying through the air, I can select the starting and ending points, and the animation software will smoothly transition from one state to the next. This is in contrast to drawing each individual frame. I am adjusting many elements, such as up and down movement, side-to-side motion, rotation, and size/scale. It's also important for me to be familiar with the concept of easing. This is when an object moves at different rates, creating a more natural look compared to something smoothly sliding from one place to another.
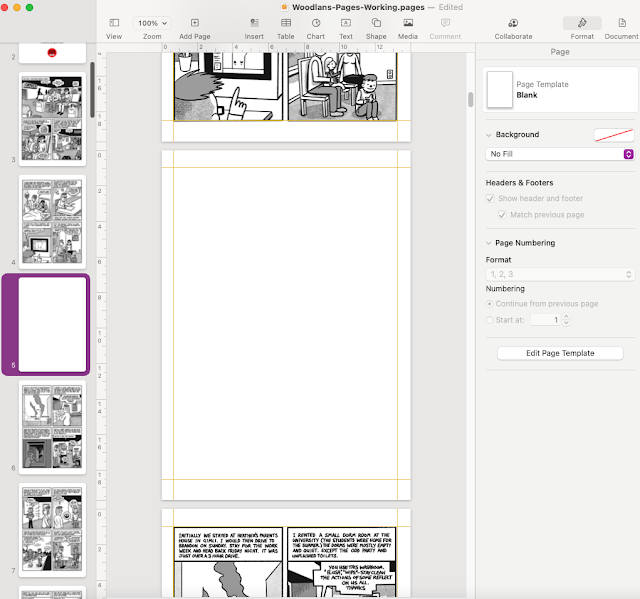
- Create a Procreate file with layers.
- Even though you can draw in Dreams, Procreate has the full array of tools for drawing and painting. Many people will use Procreate and Dreams hand in hand. I would be inclined to create my main art in Procreate first and then export it to Dreams. When making your art in Procreate, think about which elements need to be separate in the art. For example, I will need a background, and then anything in the scene that I want to move will have to be on a separate layer that can be exported. If I was going to use tweaning, then I will need different elements on different layers. For instance, if I want the character's arm to move, the arm will need to be on its own layer. I think about how I will use backgrounds and incorporate transparency. For example, in the interior of a house or car with visible windows, the windows can be transparent so I can have another layer underneath to show movement, changing colors, a bird flying by, etc.
If you do these three things you will be well prepared to start diving into Procreate Dreams on the 22nd of November!
Other helpful links:
For a more depth overview from someone that can share aspects and features of the app go here to Bardot Brush's post. She also has this recent TikTok which also shows and in depth process/tutorial.
Some more questions answered here in these two Youtube videos by Brad Colbow.
This account on Tiktok has some actual tutorials,
App overview by BeeJayDeL from the launch event.
Youtube Playlist with Dreams tutorials and overviews


Saw your post on Reddit, thanks fir the share it’s incredibly helpful
ReplyDeleteThanks for stopping by. I can't wait until release. I need more people to make tutorials etc, there's still so much I don't know
Delete